

How to Change the Location of My Business on Google Maps?
July 10, 2020
Quick 5 Steps to Create Website – WordPress Tutorial 2023
December 8, 2020
There are top 23 things to do right after you install your WordPress latest version on your domain. This post will guide you step by step.
The real work starts right after installing the WordPress.
But often, we miss important steps that later turn into problems for the website.
These problems could lead your website’s lower ranking, slower speed etc.
In severe cases, your WordPress website could get attacked and hacked for poor security.
So, you don’t have to face these problems at a later stage, it is very important you complete the WordPress initial setup effectively.
I have listed the top must do things after installing WordPress.
In addition, this blog will give you a quick preview on how to use WordPress after installation.
At any point, you feel like asking a question then feel free to use the comment box. I would love to answer you questions.
Let’s get started.
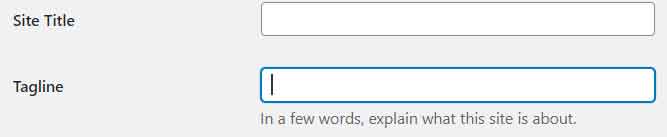
1. Set the Site Title
Your WordPress website is listed on any search engine or portal, the first thing highlighted will be your site title. It is very important you update the site title at first instance.

Steps to change WordPress site title:
Step 1. Go to ‘Settings’
Step 2. Select ‘General’
Step 3. Edit ‘Site Title’
Step 4. Scroll down and click ‘Save Changes’ button
2. Set the ‘Tagline’
With the title, your website tagline will be added to it. Therefore, it is important to edit. If you don’t have a tagline, then you could add your primary keyword such as ‘top WordPress website development company’.
Steps to change WordPress tagline:
Step 1: Go to ‘Settings’
Step 2: Select ‘General’
Step 3: Edit ‘Tagline’ field
Step 4. Scroll down and click ‘Save Changes’ button
3. Add your Administrator Email Address
It is very important that you add an administrator email address. Because if any important update is available, or your website is facing downtime or error, or in the worst case scenario, your website is hacked, you will receive all emails on your registered email address.

Steps to change WordPress Administrator Email Address:
Step 1: Go to ‘Settings’
Step 2: Select ‘General’
Step 3: Edit ‘Administrator Email Address’
Step 4: Scroll down and click ‘Save Changes’ button
Step 5: Click the link in confirmation email to change
4. Update the Timezone
Timezone setting is very important for the news site, as inaccurate time could lead to low Google and Google News rankings. You could either set UTC (Coordinated Universal Time) or you could select the timezone based on the city.

Steps to change WordPress Timezone setting:
Step 1: Go to ‘Settings’
Step 2: Select ‘General’
Step 3: Click the drop down and select City or UTC
Step 4: Scroll down and click ‘Save Changes’ button
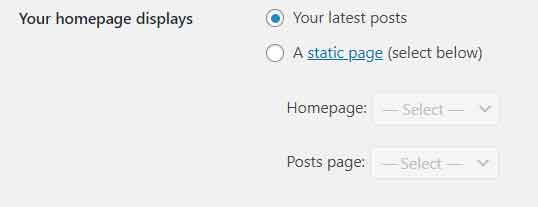
5. Set the WordPress Homepage and Blog
Do you want to run a WordPress blog or create a WordPress website with a blog or without a blog? You can set this in WordPress homepage display settings.
Steps to set WordPress homepage and blog setting:
Step 1: Go to ‘Settings’
Step 2: Select ‘Reading’
Step 3: To keep a blog only then select ‘Your Latest Posts’ option
Or Step 3.1: To create a website without a blog select ‘A Static Page’ option and in the ‘Homepage’ drop down select the homepage, and leave ‘Posts Page’ empty.
Or Step 3.2: To create website with blog, complete step 3.1, and select the page from drop down to display your blog in ‘Posts Page’ field
Step 4: Scroll down and click ‘Save Changes’
6. Remove unnecessary plugins
There are default plugins that often come installed with the new WordPress installation. For example, you will find Hello Dolly, Akismet, Limit Login Attempts etc.
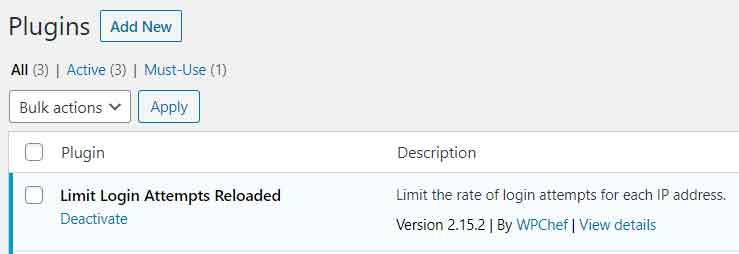
In order to uninstall default plugins, follow these steps:
Step 1: Hover pointer on ‘Plugins’
Step 2: Click on ‘Installed Plugins’ option
Step 3: Scroll to the plugins, which you want to delete
Step 4: Click on ‘Deactivate’, then click ‘Delete’
7. Remove useless widgets
There can be default widgets already uploaded on your new WordPress installation. These widgets are often added in the widget sidebar sections. You should delete them from there as they are not necessary or valuable.
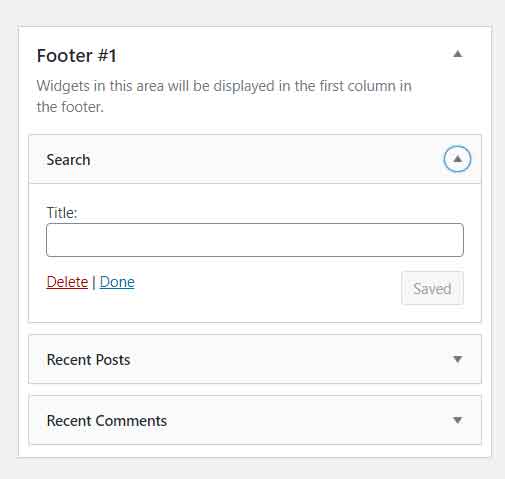
Steps to delete widgets:
Step 1: Hover mouse pointer on ‘Appearance’
Step 2: Click on ‘Widgets’ option
Step 3: Go to the widget section on the right hand side
Step 4: Click on the widget, which you want to delete
Step 5: Click ‘Delete’ option at the bottom
8. Delete default comments
Often, there can be one or more default comment(s). That is just extra load, which you should remove from the comment section.
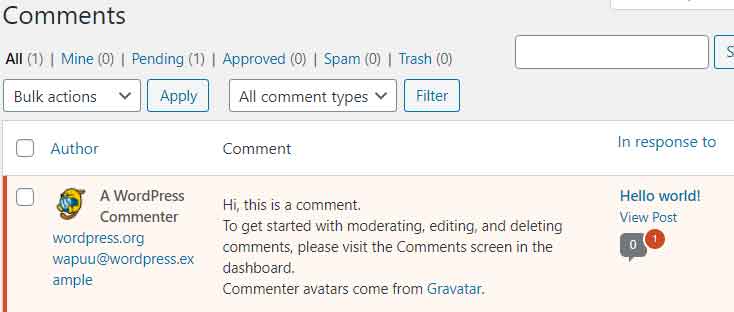
Steps to delete comment in WordPress:
Step 1: Go to the ‘Comments’ section
Step 2: Hover mouse pointer on the comment, which you want to delete
Step 3: Click on ‘Trash’ option
Step 4: On the top, click on ‘Trash’ section
Step 5: Hover pointer on the comment
Step 6: Click on ‘Delete Permanently’
9. Delete the ‘Hello World’ post in WordPress
Again the default post is there in your WordPress. Many times bloggers and developers forget to delete, and it just lies there forever. For thin content, it may affect your overall SEO. Therefore, you should delete.
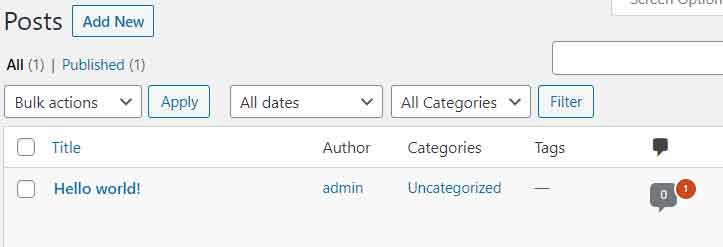
Instructions to delete WordPress post:
Step 1: Hover mouse pointer on ‘Posts’ section
Step 2: Click on ‘All Posts’ option
Step 3: Hover pointer on the post, which you want to delete
Step 4: Click on ‘Trash’ option
Step 5: On the top, click on ‘Trash’ section
Step 6: Hover pointer on the trashed post
Step 7: Click on ‘Delete Permanently’ option
10. Delete the ‘Sample Page’ page
In the page section, you will find the default ‘Sample Page’ already published. It is useless that you should delete it.
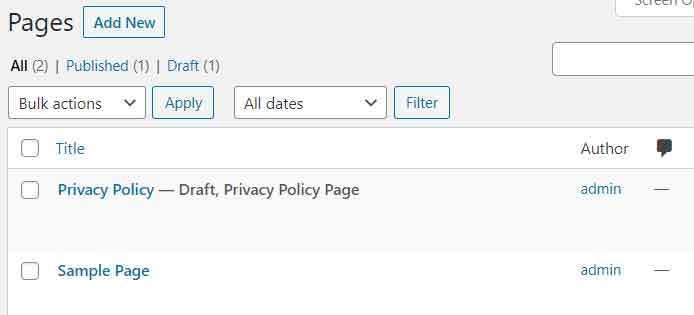
Steps to delete a page in WordPress:
Step 1: Hover pointer on ‘Pages’ section
Step 2: Click on ‘All Pages’ option
Step 3: Hover pointer on the page, which you want to delete
Step 4: Click on ‘Trash’ option
Step 5: Now, on the top, click on ‘Trash’ section
Step 6: Hover pointer on the trashed page
Step 7: Click on ‘Delete Permanently’ option
11. Choose the right WordPress theme
Before you choose the WordPress theme, I would recommend you to learn everything about the theme. Check whether the theme is compatible with your WordPress version. Check for mobile responsiveness and speed. Check reviews in detail, this way you will learn about pros and cons of it. And finally analyze, whether it meets your current and future requirements for scalability.

Steps to change WordPress theme:
Step 1: Hover mouse pointer on ‘Appearance’ section
Step 2: Click on ‘Themes’ option
Step 3: Click on ‘Add New’ button on the top
Step 4: You can choose the free theme from the library or
Step 4.1: To upload paid theme click on ‘Upload Theme’ button on the top
Step 5: Click on ‘Install’ button for the choose free theme or
Step 5.1: Click on ‘Upload Theme’ button on the top
Step 5.2: Click on ‘Choose File’ button and select the zip Theme folder from your PC
Step 5.3: Now, click on ‘Install Now’ button
Step 6: After installing, click on ‘Activate’ button in both free or paid uploaded theme
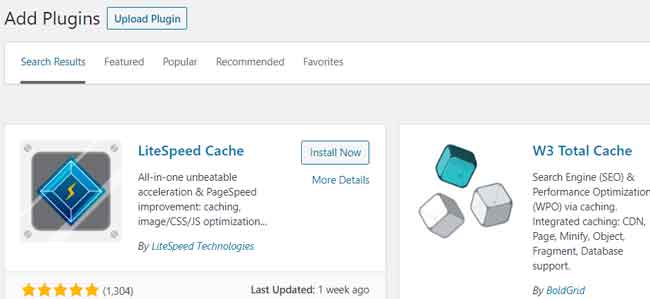
12. Install Required WordPress Plugins
The newly installed WordPress theme will require plugins for it to function effectively. Install the required plugins, there could be optional plugins as well, which you can skip if you don’t need them.
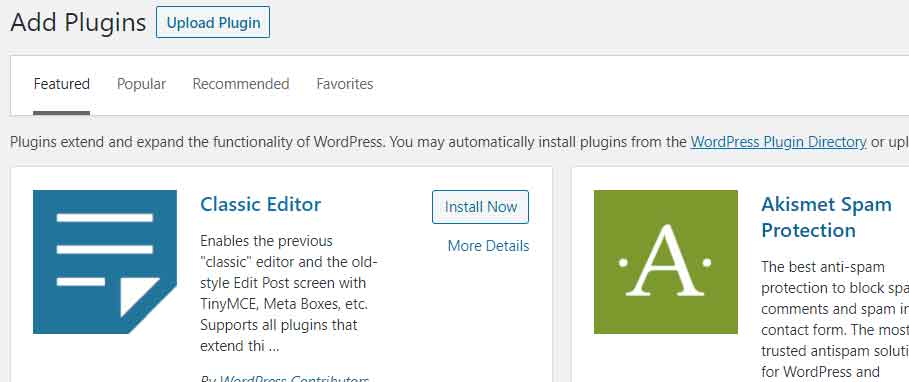
Steps to install and activate WordPress plugins:
Step 1: Hover mouse on ‘Plugins’ section
Step 2: Click on ‘Add New’ option
Step 3: Search using the search bar on the right side for the required plugin(s)
Step 4: Click on ‘Install Now’ button
Step 5: After installing, click on ‘Activate’ button
Steps to delete WordPress plugins:
Step 1: Go to ‘Plugins’ section
Step 2: Click on ‘Installed Plugins’ option
Step 3: Hover mouse pointer on installed plugin from the list
Step 4: Click deactivate and then delete (to delete the plugin)
13. Setup Menu in WordPress
The most important feature in your Website will always be the navigation bar (also called Menu bar). You must edit it to make it easier for you and others to reach certain sections in your website even if it is in the development stage.
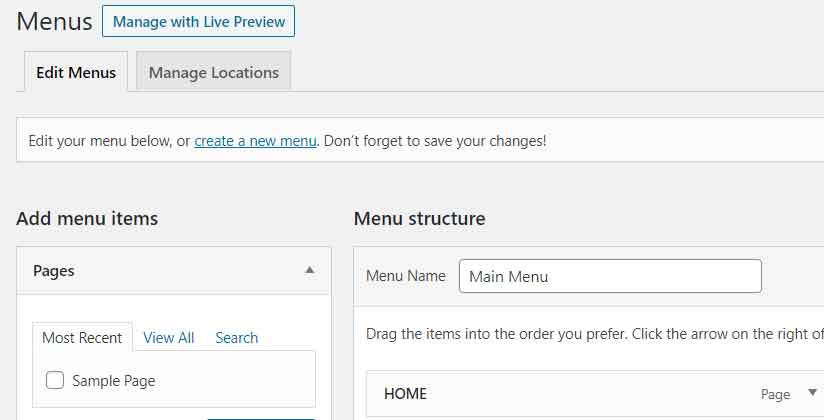
Steps to edit and manage Menu (nav bar) in WordPress:
Step 1: Hover mouse pointer on ‘Appearance’ section
Step 2: Click on ‘Menus’ option
Step 3: Give name to new menu in ‘Menu Name’ field, e.g. Main Menu
Step 4: Click ‘Create Menu’ button on the right hand side
Step 5: Select the check box for pages that you want to add to menu
Step 6: Click ‘Add to Menu’ button
Note: Same way you can add posts or categories or create custom links in menu bar
Step 7: Click on ‘Save Menu’ button on the right hand side
Step 8: Select display location for the menu at the bottom (there will be one or more location to select from)
14. Import and Upload Demo Data on WordPress
Many themes, particularly paid WordPress themes, come with demo data. The option to upload demo data makes it a whole lot easier. After uploading demo data, your WordPress website will look all the same as the preview of the theme. Thereafter, all you have to do is remove and add your content.
Note: it is always recommended to learn about the process of uploading demo data from the theme documentation or theme creator website. There could be a different way suggested by the theme creator or they may have a plugin for uploading demo data. Following steps given below are the most common way to upload demo data on WordPress.
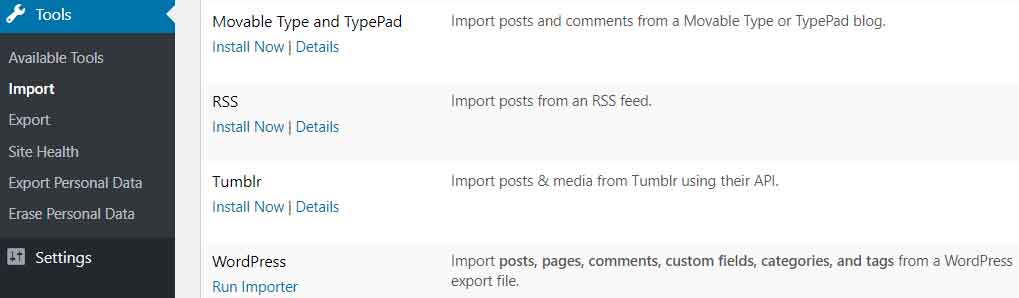
Steps to important and upload demo data:
Step 1: Hover mouse pointer on ‘Tools’ section
Step 2: Click on ‘Import’ option
Step 3: Scroll down and click on ‘Install Now’ option given below WordPress
Step 4: After installing it, click on ‘Run Importer’ option
Step 5: Click on ‘Choose File’ option and select XML demo data file from your paid theme folder
Step 6: Now click on ‘Upload File and Import’ button below
Step 7: it will take time, finally check your website after successful upload
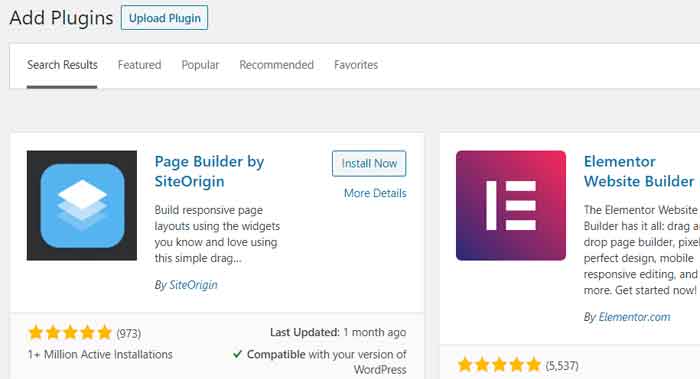
15. Choose the right page builder WordPress plugin
There are a range of free and paid page builder WordPress plugins such as Visual Composer, Beaver, Divi, Siteorigin etc. If you are using a paid theme, there’s a high probability that you will get the page builder with it.
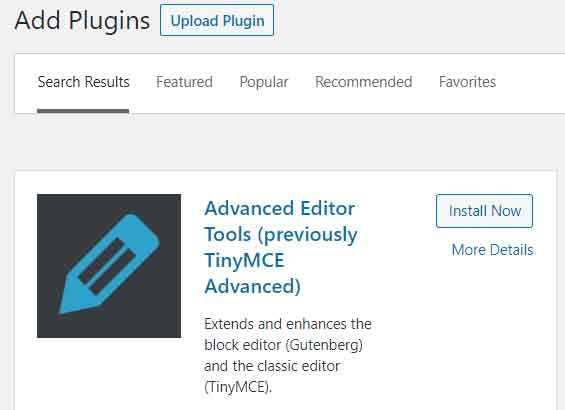
16. Install Text Editing Plugins for More Font Styles
The WordPress default text editing settings are limited. That’s why you will always need a text editing plugin for extra help. There are a number of text editing plugins to experiment with, but I recommend TinyMCE advanced text editor plugin.
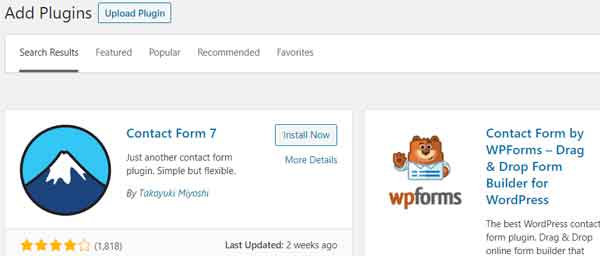
17. Use Contact Form Plugins to Collect Customer Data
Next important feature you will need in your website is contact form. You will need a contact form to collect emails of subscribers, create contact forms, or create forms for payment etc. I have few suggestions for contact form plugins that are – Contact Form 7, WP Forms, Gravity Forms, Ninja Forms etc.
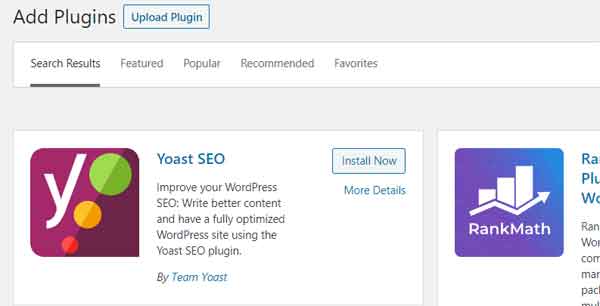
18. On-Page SEO Optimize Using WordPress Plugin
For your website to rank on Search Engine such as Google, you will need a robust plugin for SEO on page optimization. There are only a few on-page SEO WordPress that I think does all the job such as Yoast SEO, RankMath, All-in-one SEO pack etc.
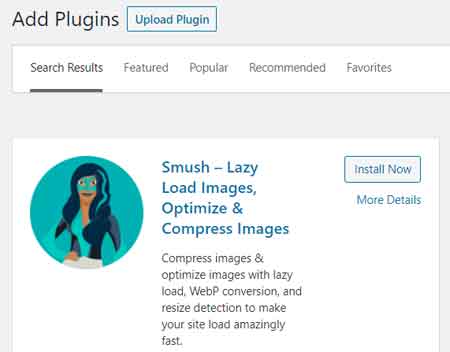
19. Optimize Image Using Plugin for Better Performance
Heavy images are the major factor behind slow website speed. Image optimization plugins to some extent helps in overcoming this problem. I think the best image optimization plugins are – WP Smush, Optimole, Imagify etc.
20. Increase Your WordPress Website Speed
From the SEO and engagement point of view, speed is extremely crucial for overall performance of your website. In your new WordPress installation, you will increase your speed using Cache and Speed optimization plugins such as WP Super Cache, W3 Total Cache, HTML Minify, AMP for WP etc.
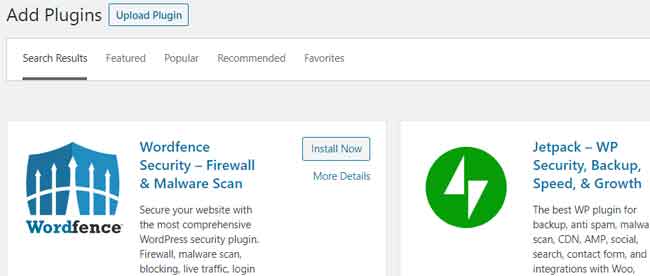
21. Secure Your WordPress Website from Spammers & Hackers
WordPress has been the center of attraction for hackers and spammers for quite some time now. Often, WordPress websites with weak and poor security or weak passwords are defaced or hacked. Moreover, spammers using bots to push their spam comments and messages to you. So, to keep your website secure from the start I recommend you to use a good security WordPress plugin such as WP Security, WordFence etc.
22. Block Google and Other Search Engines from Crawling
Your new WordPress installation is not ready I hope so, therefore if Google crawls the website, then it won’t find anything. Moreover, if your website is not ready with content or may have not followed Google guidelines for ranking then you may get a penalty. So, to be on a safe side, it is ideal to block Google and other search engines from crawling your newly installed WordPress.
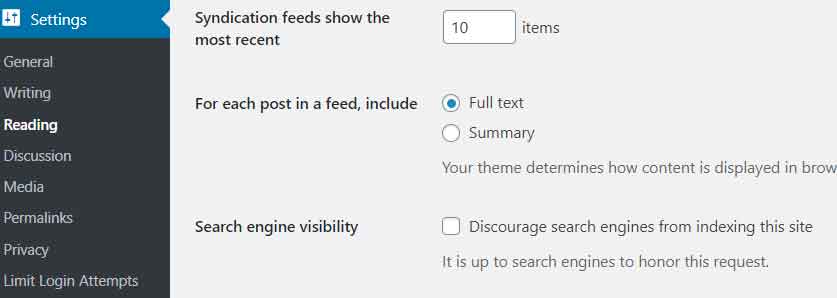
Steps to block Google and Search Engines from crawling WordPress:
Step 1: Hover mouse pointer on ‘Settings’ section
Step 2: Click on ‘Reading’ option
Step 3: Scroll down and click on the check box that says ‘Discourage search engines from indexing the site’
Step 4: Click on ‘Save Changes’ button at the bottom
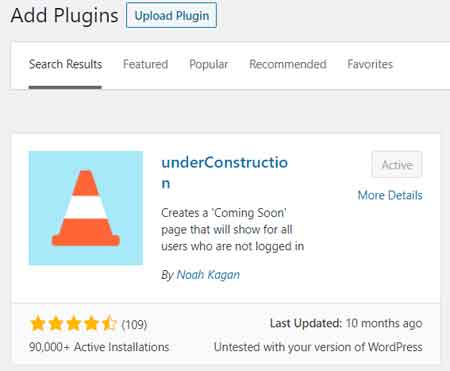
23. Select the Best Under Construction Plugin
Lastly, you need an under construction banner until your website is ready with content and design. I am sure you don’t want a poor impression on your traffic, who could be interested in your product or services. My personal favorite is underconstruction WordPress plugin. However, apart from it, there are a number of under construction plugins that you could use.
So, the list ends here. Do you think apart from these, there are more important things to learn in WordPress?
Then, why not put that in the comment section, I would love to hear your suggestions below.
Also, please share with your friends, who would need a list for things to do right after WordPress installation. Maybe, it will make their life easier!
P.S.: Show your love by sharing this post. This encourages me to write more blogs and tutorials.
Also, feel free to connect with me on social media – Facebook, Instagram, Twitter and LinkedIn.
Cheers!

1. Help businesses get online and win at marketing
2. Train people in digital marketing
3. Create, experiment, and innovate with new ideas
- Top 8 Digital Marketing Trends in Real Estate Industry of India - July 13, 2023
- Top 11 Tips to Remember While Buying a Domain in 2023 - July 9, 2023
- 10 Steps to Create Professional WordPress Website in 2023 - July 3, 2023