
7 Ways To Boost Real Estate Sales With Digital Marketing
January 11, 2014
Top Restaurant Marketing Ideas – How to Promote Your Restaurant Online?
November 19, 2017Google Maps service is one of the most popular, and commonly used service by Google and Android users.
For a local business in India, it is important to be on Google Maps to make his/her local business discoverable on Google India search engine.
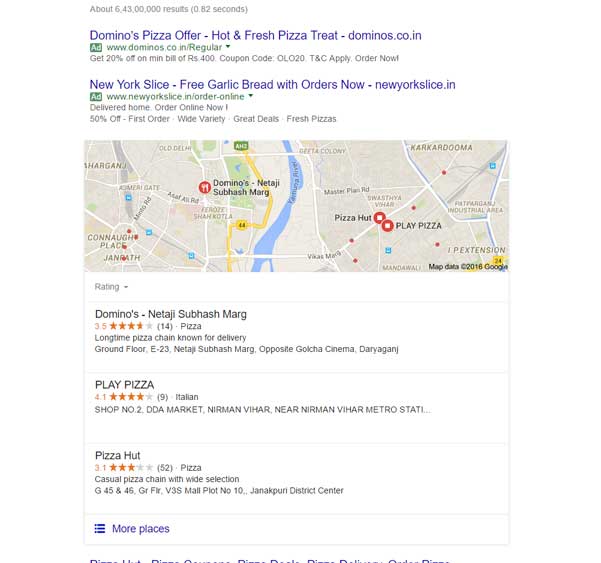
For example, your pizza outlet is based in the Model Town area of Delhi, and you already are verified location for pizza outlet on Google India. Then, whenever someone in your region searches for ‘Pizza’ or ‘Pizza Outlet’ your pizza outlet may be listed in the top searches and/or Google Map highlighting pin on your Pizza outlet address.
From the SEO perspective, for a local business getting listed on Google My Business is extremely important to reach your local targeted audience. This local targeted audience is searching for your product, service, and solution in your area, to which you can easily cater.
Therefore, to get listed on Google India and Maps for local searches you can use ‘Google My Business’ (formerly Google Places).
Google My Business allows you to not only list your business on Google, but also track and monitor your presence on Google Local and Google+. Moreover, if you’re planning to use Google Adwords, and Google Analytics, then you can integrate your verified location(s) for these services.
You can also add multiple locations for your business from a single account on Google My Business. Suppose you want to add more than 10 branches or franchise network across India then you can use Google’s Bulk Verification service.
Now, let us learn to add your Business listing on Google India using Google My Business services.
1. Visit this link
2. Click on ‘Sign In’ to log in from your Google Account

find it on top-right corner on your browser
3. Or Click on Start Now to create a new account
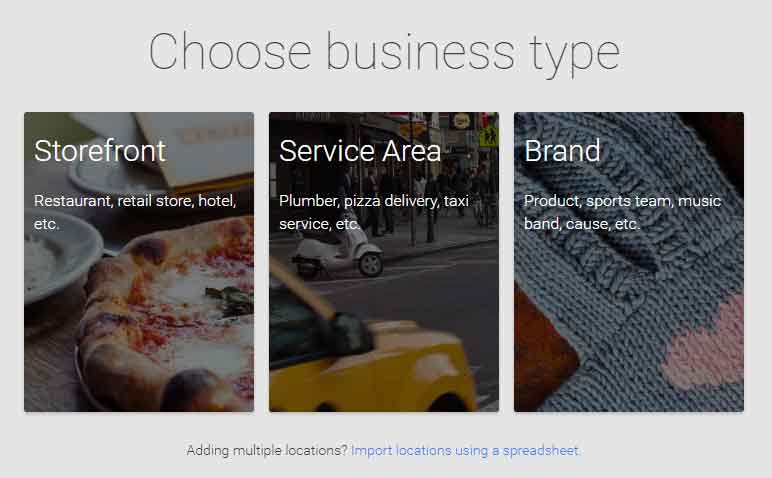
4. Choose the Business Type
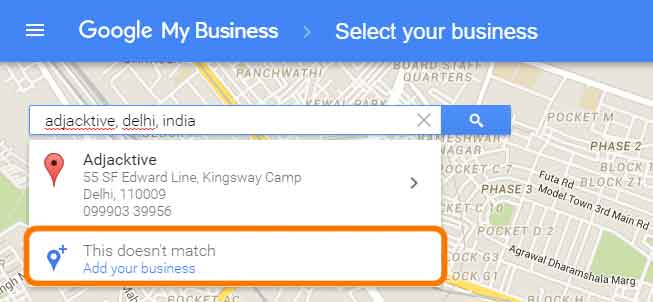
5. Enter your full business name and address in the search
6. Claim your already added business or click on ‘Add your business’
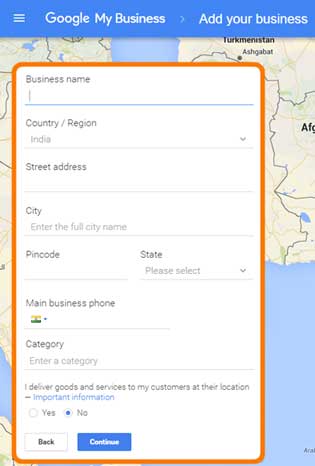
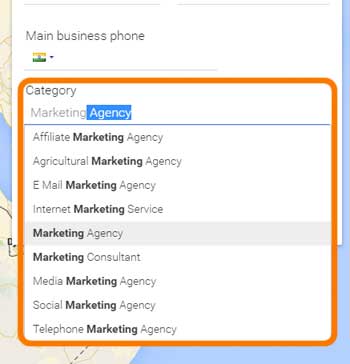
7. Add your business information and choose the appropriate category
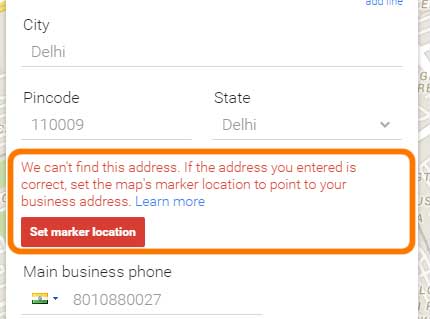
8. Set pin marker for your location if Google isn’t able to find your location
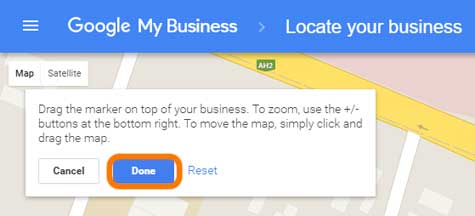
9. Find and drop the pin on your location, and click ‘Done’
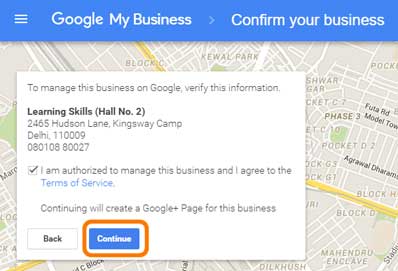
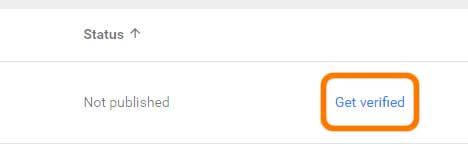
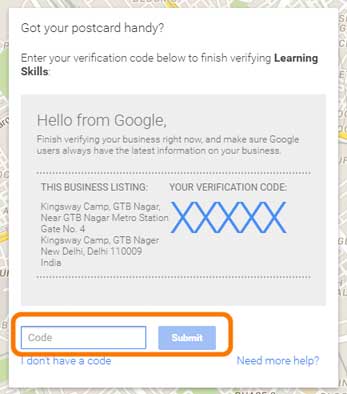
10. Verify your business (Google will send you code on your business address in 1-2 weeks)
11. After receiving the code, add it to your listing
Okay. You are Done.
Post Script: give your accurate business information and address on Google My Business. Remember to use this business information and address for all listings across the web.
Tip: After your business listing on Google is verified you can add up more categories.
Recommended: Also set up your Google+ business page on Google My Business account. Add detailed and keyword optimized content in your about section of Google+ business page.
SUBSCRIBE TO BLOG UPDATES
get new blog every time delivered to your inbox, subscribe now
- Top 8 Digital Marketing Trends in Real Estate Industry of India - July 13, 2023
- Top 11 Tips to Remember While Buying a Domain in 2023 - July 9, 2023
- 10 Steps to Create Professional WordPress Website in 2023 - July 3, 2023






3 Comments
[…] out my step by step tutorial to set up Google My Business account under 5 […]
Hi
I want to start my own business in digital marketing I just need your help that how should grow on Instagram, Facebook, tweeter etc ?